Here’s the biggest secret to making better-tasting food: Do it yourself, from scratch. It may not actually be better, but somehow the effort involved makes it taste really good (and you’ll feel good about yourself.)
Plus it’s fun, and cheaper than buying the finished product. I’ve become a convert to making my own bread and bagels pretty much exclusively, and my crowning achievement to date is curing my own pancetta…from the belly of a pig a friend raised…that I helped slaughter and butcher. (Sadly, the blog documenting the project no longer exists.)
When it comes to making hamburgers, from scratch means grinding your own meat. There are three very good reasons to do this:
- It’s safer. When you buy ground beef at the supermarket, it’s made from hundreds, or even thousands, of different cows. If one of them is infected with e.coli, the whole batch is. When you grind your own, it comes from one cow. If you like your burgers rare, you should probably keep this in mind.
- It’s fresher. Oxygen is the enemy of all organic materials. When meat is ground, every inch of it comes into contact with air, and the longer it sits, the more it oxidizes and picks up off flavors and colors. When you grind right before cooking, there’s no oxidation.
- You can get creative. Want to grind some bacon into the beef? You can! Feel like making a part-veal, part-pork, part-duck megaburger? Go for it!
Now, in order to grind your own meat, you need a meat grinder. The cheapest and easiest way to do this is a meat grinder attachment (aff. link) for your KitchenAid. It’s inexpensive compared to a freestanding grinder, and it’s really easy to use. All you do it turn the mixer on to medium speed and feet the meat through. It may not be the most powerful thing in the world, but for once-in-a-while use it’s perfect. Just be sure to clean your grinder parts and the whole area where you grind very well—raw meat can find its way into all kinds of places.
Once you have a meat grinder, there’s a whole universe of cuts out there for you to grind—you’re no longer limited to chuck or round. When it comes to burgers, fat is your friend: It provides flavor and holds the burger together (low-fat burgers will crumble and fall apart without an egg or other binder). You also want to use a tougher cut: The connective tissue makes for a juicy burger, and grinding tenderizes the meat anyway.
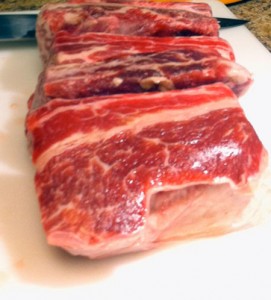 So what’s the fatty, tough cut of beef at left that makes fantastic burgers? Short rib! Coming from the bottom of the ribs at the front of the cow, it’s a beautifully marbled cut that’s usually braised until falling apart, as in French pot-au-feu, or marinated and grilled, as in Korean galbi. It was trendy a few years ago among fancy chefs, among them Hubert Keller, to stuff or top regular burgers with braised short ribs, but just grinding the stuff works great too.
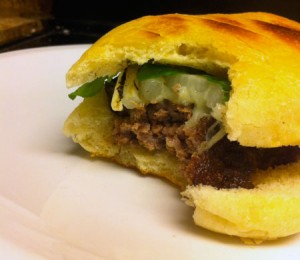
Ready to jump in and DIY a hamburger? Here’s my recipe.
Blue Cheese Short Rib Burgers
Makes 4 burgers
2 pounds beef short ribs
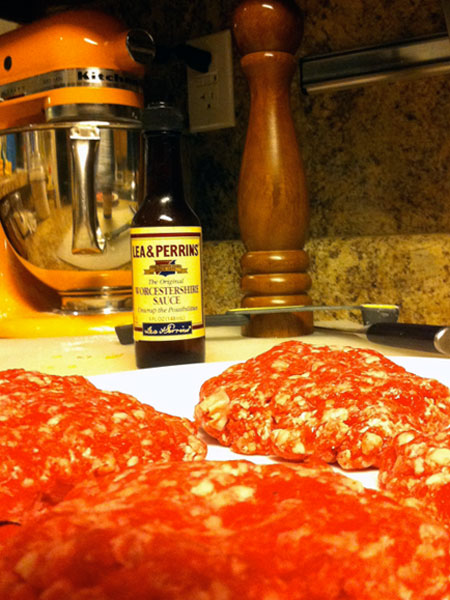
2 tsp. Worcestershire sauce
1/2 tsp. salt
1 tsp. pepper
1/2 large onion, sliced into rounds
Strongly flavored blue cheese, such as gorgonzola piccante
4 hamburger buns, sliced in half
Arugula
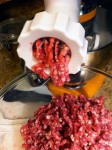 Cut short rib meat off the bones (2 pounds of short ribs will yield about 1 pound of meat), and chop into 2-inch or smaller pieces. Grind using coarse plate.
Prepare grill, and let heat up while preparing the burgers.
Gently mix Worcestershire, salt, and pepper into meat (use your hands—you’re gonna have to form the patties next anyway). Shape loosely into four equal patties. Do not overmix meat or squeeze patties tightly—this will make them less juicy.
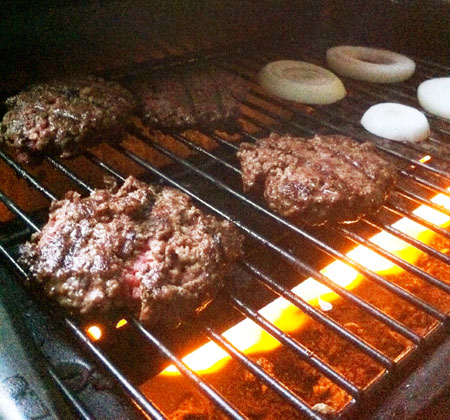
Place patties and onion slices on grill. Grill patties until desired doneness, trying not to flip more than two to three times. Flip onion slices every few minutes, until softened and nicely grill-marked. A minute or so before patties are done, crumble blue cheese on top and let melt.
Lightly toast buns (on the grill or in the toaster), and place patties on bottom bun. Top with onion slices and a few arugula leaves.
